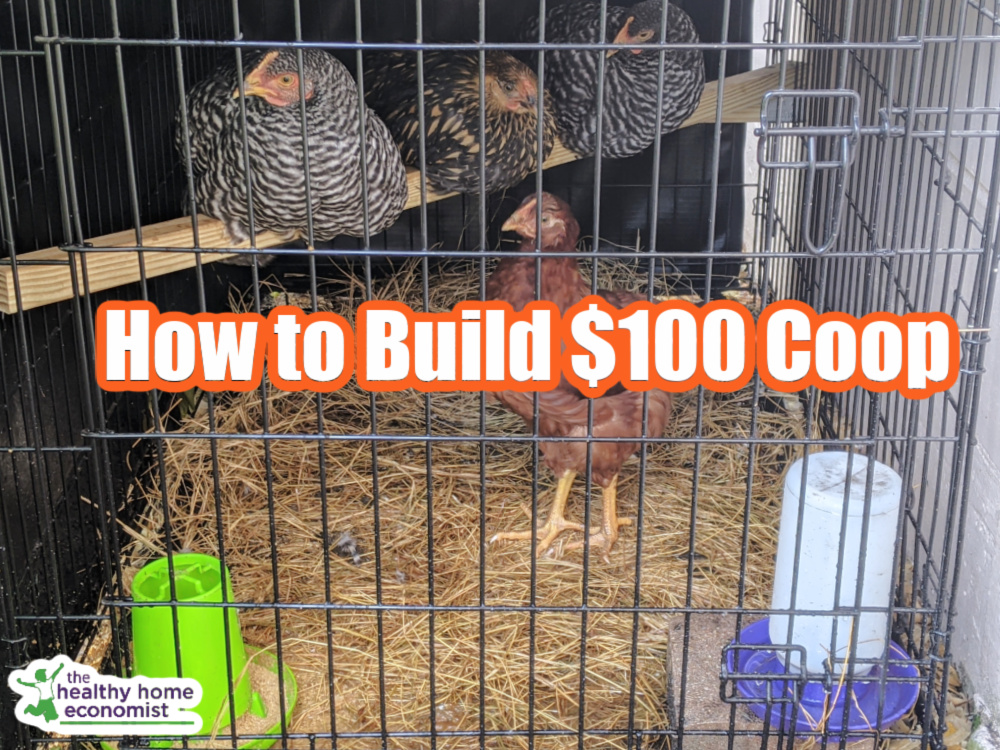
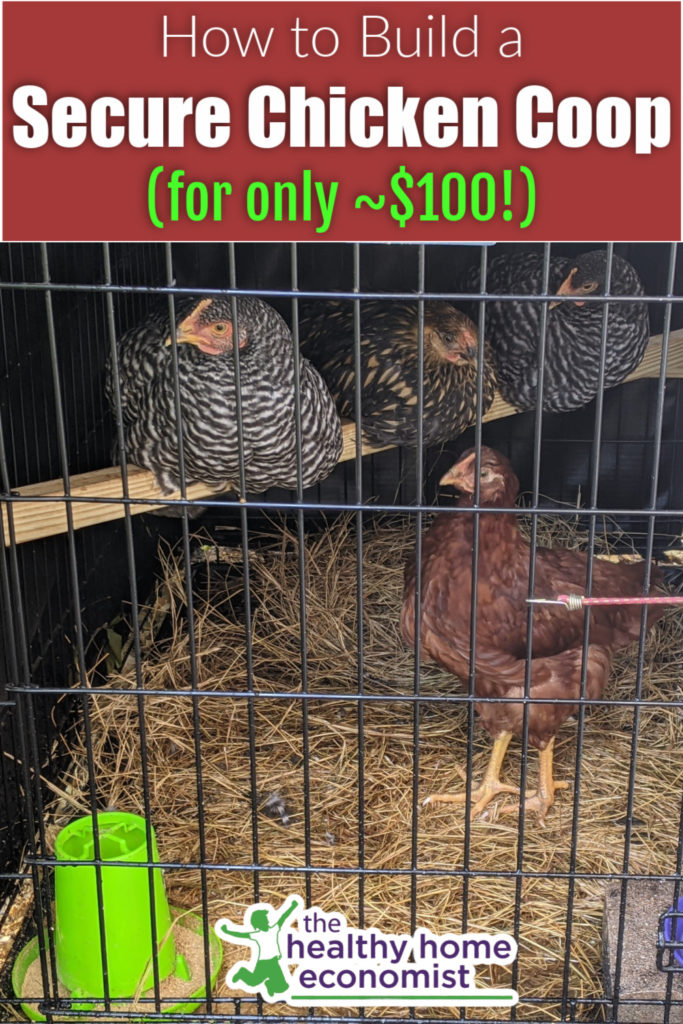
How to build a safe, sturdy, waterproof chicken coop for about $100. Coop holds 2-4 chickens depending on the age and breed.

As more people realize the importance of where their food comes from and its link to overall health, keeping chickens at home is becoming more popular than ever.
When getting started with this fun and nourishing hobby, the first obstacle is often how to put together a chicken coop that is safe and durable without breaking the bank.
As someone who has kept a small flock of chickens for many years, I can suggest an easy way to assemble a DIY chicken coop.
Why a DIY Coop?
Why would you want to build your own chicken coop in the first place?
After all, there are inexpensive ones online that you can buy and assemble pretty easily even if you aren’t that handy.
Safety
Well, I would warn you away from these cheap chicken coops. They look so nice and pretty online, but when you assemble them, they are of shockingly poor quality and not safe for your birds!
I learned this the hard way when I lost two ducks to a bobcat attack. The bobcat jumped on top of the coop and it literally collapsed (it was wet from overnight rain, which weakened the cheap wood).
The bobcat was then able to easily attack and kill the ducks, which was quite a heartbreaking mess to discover the next morning!
Cost
Another reason to not buy a coop is that they are expensive if you get the sturdy ones made with quality wood and metal.
Models typically range from $300 to well over $1000.
And, in most cases, you have to assemble them too once they arrive.
Why not spend that “some assembly required” time to make your own coop at a fraction of the cost?
Pullets Not Ready to Integrate with Main Flock
Another reason you might need to build a coop is that you need a safe, secure, temporary home for young chicks or pullets that are not large enough to integrate with your older, free ranging chickens.
This was actually my reason for assembling a DIY coop. I had already spent quite a bit on a large, mobile coop for my flock years ago. I didn’t want to spend that amount of money again for a smaller, secondary coop designed to house pullets for just a few months until they were big enough to hang with the adult chickens.
Besides, once the pullets are integrated with the main flock, where would I store the coop? I needed something that was easily tucked away as I would only need it every year or two for a few months as young chicks were maturing.
How to Build a Safe, Inexpensive Chicken Coop
Let me share with you how I built mine…and I am not that handy, although I would consider myself fairly creative 🙂
Depending on the size of the coop you build, it will cost you anywhere from $100-150.
I built my coop for about $125 because I needed it to hold 4 chickens. If you want to build a slightly smaller one for just 2-3 chickens, it would run you a bit less, probably $100 if you get the materials below on sale like I did.
I used three things to assemble my coop:
- Pet kennel ($25+)
- Waterproof cover ($80+)
- 1X1 framing lumber for roosting bar ($5+)
Coop Frame
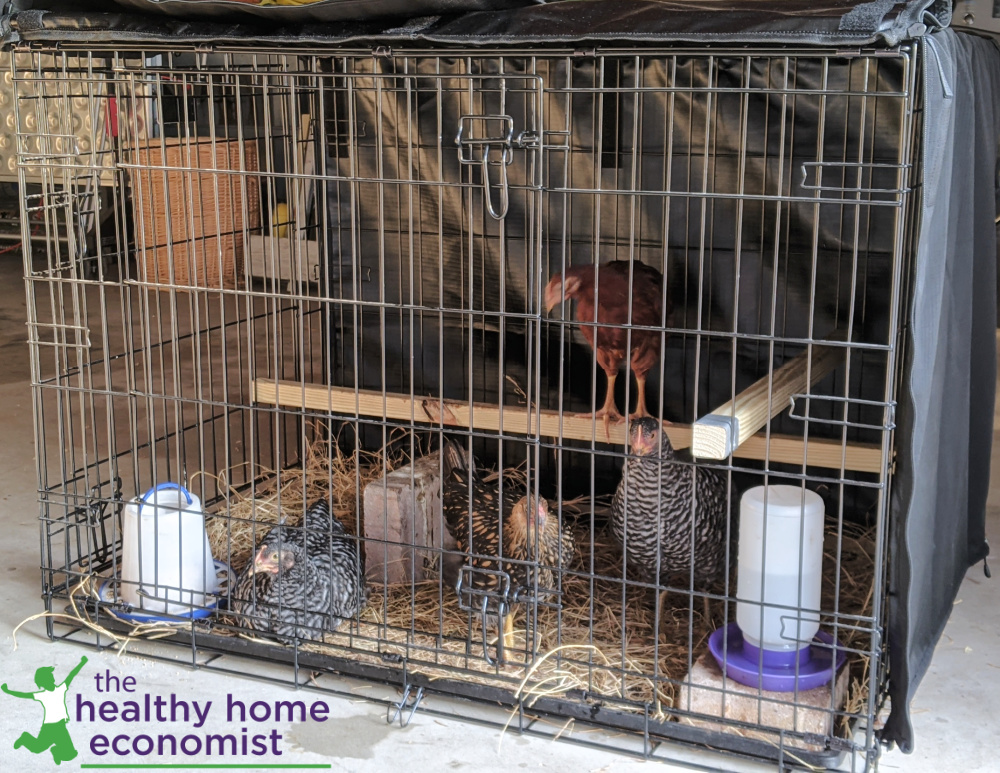
I chose this large dog kennel as the frame for my chicken coop. It is made of sturdy metal and won’t collapse if a large animal like a coyote or bobcat jumps on top of it. The bottom of the kennel also contains metal bars and a base. This protects against an animal that can burrow underneath like a fox.
At roughly 9 square feet, it can hold 2-4 chickens comfortably, depending on their age and breed size.
You can get these kennels online or retailers like Tractor Supply Company. This is where I got a large one on sale for only $40.
Dog kennels are also simple to assemble even if you are not handy.
Waterproof Cover
The next thing you will need is a waterproof, chew proof, claw proof cover. In other words, the cover must not be sturdy enough to withstand an animal trying to tear it apart. Hence, a waterproof tarp from a hardware store won’t cut it.
This is the only kennel cover I found that meets this criteria.
Again, search around online and in retailers in your community for the best deal. I paid $80 with free shipping for mine.
A good quality cover can also be zipped down and secured on any/all sides for nighttime safety and rolled up during the day.
Framing Lumber (for Roosting Bar)
The last thing you will need for your coop is a roosting bar where the birds can sleep comfortably at night.
I bought a 1X1 framing bar at Home Depot for $5 and had them cut it down so that I could wedge it into the sides of the kennel.
You can wedge the bar in any direction you like. Whatever length bar you decide on, I suggest getting it cut 1 inch longer than the length or width of the kennel so that a small bit juts out on either side so that the bar stays secure without any additional hardware.
The picture below shows the two positions of the roosting bars that I used.
Roosting bars expand the square footage without any actual size increase for the coop itself. This is done by creating “a second floor” for the birds.

That’s it! Add some dry straw or wood chips to the base of the coop and you are all set! Hint: use wood chips if the birds are quite young.
Can you believe how easy it is to assemble an inexpensive and yet safe, secure, waterproof coop?
Another great thing about this coop is that once my young hens are with the adult flock, I can easily disassemble it and store in the garage for the next time I bring up a group of young chicks.


Hello Sarah, would this coop be suitable as a permanent home for 4 chickens, or just temporary? If permanent too, would you suggest making it mobile in addition to its other features? Thank you.
This coop is not large enough for 4 full grown chickens. You could use it as a nighttime coop only and let them free range outside during the day. That would work.
Thank you Sarah!
Funny timing on you posting this article! My husband and I are in the middle of building a nice coop for our chickens. It’s a permanent housing for a lot of birds, though, so a lot more expensive!
Nice job on the creative temporary housing. Your girls look happy.
Why about winter.. how do we manage that?
Chickens handle cold weather very well. You can easily add a heat lamp (which I used when the chicks were young).
The cover I have is insulated and windproof… I’ve never had an issue down to 30 F. If you live in a colder clime, add a heat lamp or bring the coop into the garage for a few nights as needed.