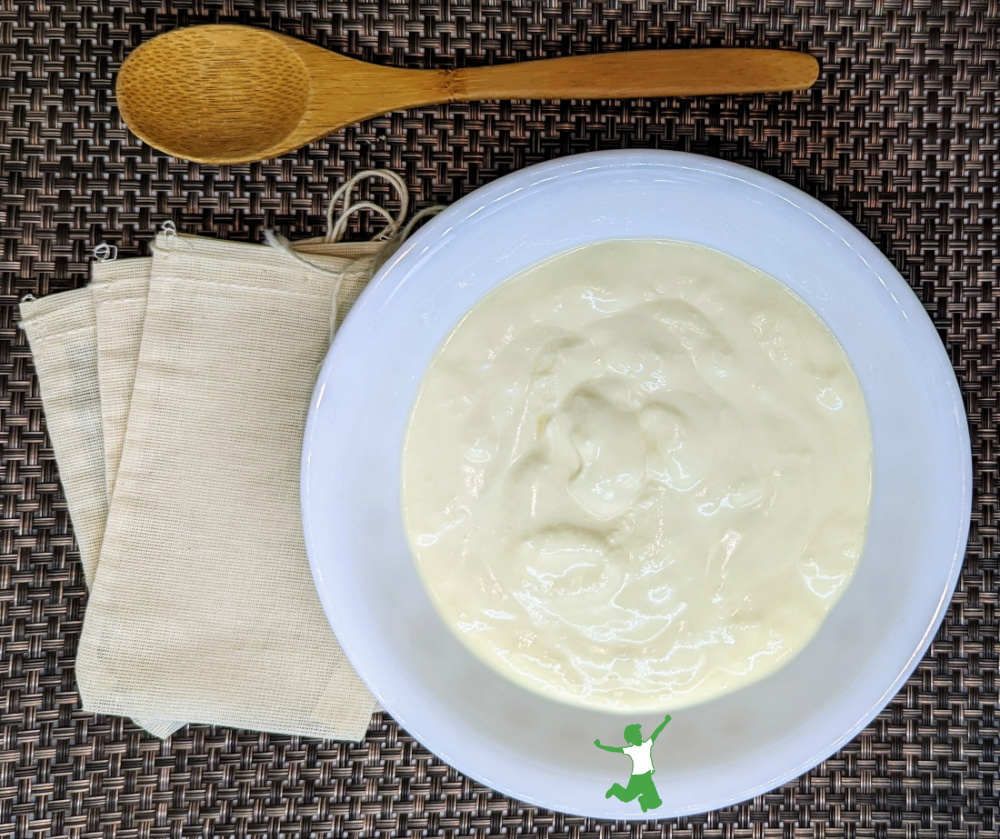
How to easily remove live grains from a fresh batch of homemade kefir without making a mess or losing some of the culture down the sink.

A friend of mine recently started making dairy kefir at home for the very first time.
He fermented his first few batches using organic pasteurized milk.
He had been under the (false) impression that the probiotics in raw milk “would compete” with the live kefir grains and impede fermentation.
Sadly, this myth continues to circulate in the alternative health community.
After we talked about why this was a myth and the benefits of raw grassfed milk, he switched to making it with fresh-from-the-cow instead.
And wow! He has really been enjoying the huge upgrade in health benefits as well as the improved texture and taste!
The nutritional content of raw kefir is far greater than pasteurized too. At least half the Vitamin C and all the beneficial enzymes (like lactase) are destroyed during processing, among other problems.
Live Starter is ALWAYS Best
The main benefit of using live kefir grains over powdered starter is that the kefir contains roughly three dozen probiotics including beneficial yeast strains.
This compares to the handful of strains from inferior powdered starter or improperly fermented commercial kefir.
The live grains last for decades too. It is the most frugal approach as well as the healthiest.
You can even pass them on to your kids (I’m serious).
Removing Kefir Grains is a Challenge
The only downside of using a living culture to ferment kefir is fishing out the gummy-like grains from each batch.
The process is tedious and messy.
Worse, it can sometimes result in some precious grains getting washed down the sink accidentally as you rinse the wooden strainer (like this one).
It is best to never use metal as it weakens the living kefir culture. Plastic is acceptable, but who wants to use a nonsustainable material if avoidable?
You can also use your fingers to fish them out a few at a time. This is super messy though.
Is there an easier way that is safe for the grains and won’t weaken them?
Yes, there is!
Easiest Way to Remove Grains from Kefir (without harming them)
Over the years, I’ve refined my method for removing kefir grains from each batch without harming or losing them!
By far, the simplest way to accomplish this is by using small muslin drawstring bags made with 100% cotton. These are the unbleached bags I use.
Do NOT use the plastic or metal cage strainers some sites misguidedly recommend.
Be aware that cotton muslin bags come in a variety of sizes.
I suggest sticking with the small ones. My hunch is that larger bags may inhibit fermentation in some way.
All you have to do is carefully put your kefir grains in one of the bags.
I suggest washing the bag with filtered water and mild unscented Castile soap first. Rinse well in filtered water before using (chlorine in tap water harms the grains). No need to dry the bag first.
After placing the grains inside one of the bags, gently lower the bag into the mason jar containing the milk you intend to ferment.
Close the lid of the jar with the edge of the drawstrings over the side of the rim. This keeps the bag from sinking to the bottom of the jar.
After 24-hour fermentation is complete (it might take slightly longer…up to 36 hours), carefully unscrew the lid and catch hold of the drawstrings with your fingers or a spoon.
Carefully pull the bag out of the fresh batch of kefir and place it in a clean bowl.
No need to rinse the bag or remove/rinse the grains between batches!
Simply lower the bag of kefir grains into a fresh mason jar of milk to start your next batch!
Easy peasy 🙂
Each muslin bag will last several months. To give you some idea, we make a fresh batch of kefir almost every day, and we use about a half dozen cotton bags each year.
While the bags are not expensive, if you have one or two friends who also make kefir, it is most frugal to split a larger order of bags amongst the group.


Thanks for sharing this game changer tip. I’ve been making milk kefir with these muslin bags for a month. Love how these bags do away the need for straining & simplify milk kefir process so much! Do u need to wash current muslin bag after a period of time? Thanks
That is up to you … I will rinse mine in filtered water from time to time if it gets to the point where the raw milk cannot easily access the grains inside.
I got the tiny bags you advertised but it completely floats on the top of the milk! Does yours really sink to the bottom if you don’t have the strings tightened over the lid? And do you tie off the bag before submerging? Or is that why your saying to ‘gently’ lower it in because the bag is to remain open? Even if I let it open it still floats… Some clarification and/or pics would be greatly appreciated. I am but a simple kefir man.
Yes, tighten the bag … once it gets wet with the milk it will sink down into the jar.
As you correctly point out, the kefir culture characteristics wil depend on ambient temperature, but even more importantly on origin, milk environment, atmospheric conditions and a host of factors that may be impossible to strictly control for. Therefore, you’re not going to get a standardized microbial composition that you can test every culture against. However, every good culture will exhibit certain symptoms (such as I’ve alluded to) which are reliably indicative of a healthy biodiversity. Kefiran strings are one surefire tell. It’s really not rocket science. If you’re observant in a cheese artisan sense or like shepherds in the Central Caucasus where kefir originated and is still forms an important part of the cultural foods, you will certainly be able to judge kefir grain quality.