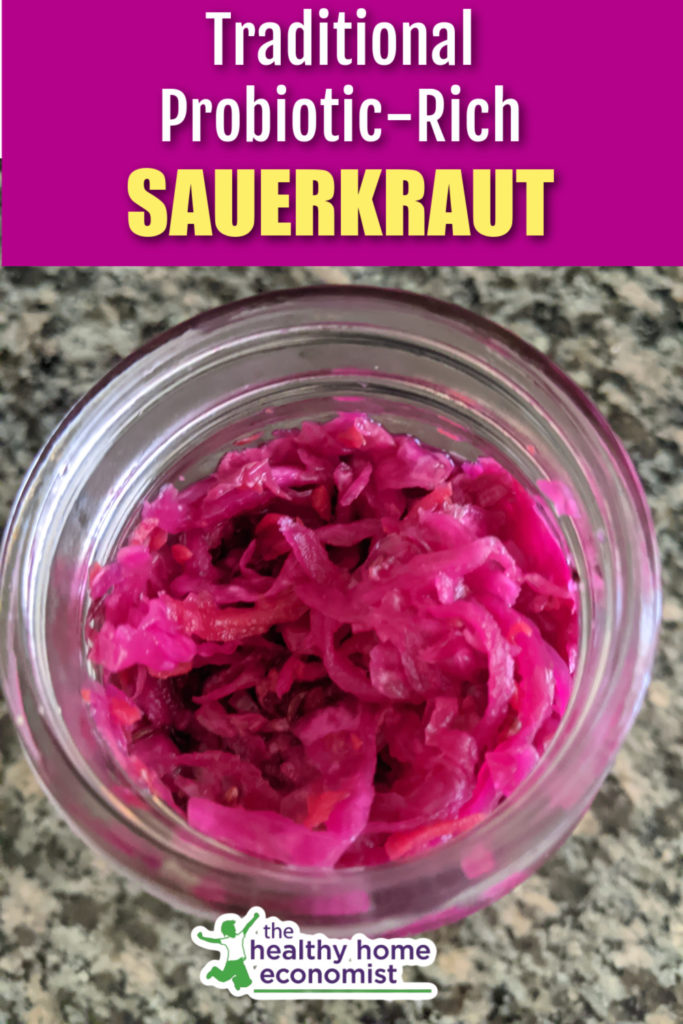
Recipe and detailed video instruction on how to make traditional sauerkraut that is loaded with probiotics and Vitamin K2 for better digestion and health. 
By popular demand, the process of making homemade sauerkraut is explained and demonstrated in the two video lessons below. The written recipe is also provided by those who wish to dive right in.
This traditional food is probiotic-rich and very nutrient-dense unlike the vinegar-packed sauerkraut wanna-be’s at the store.
The first video covers a brief history of sauerkraut and what you need on hand to make it. The second video covers how to make sauerkraut yourself quickly and easily in your kitchen.
The sauerkraut recipe I use is based on the Nourishing Traditions method.
Benefits of Fermenting Cabbage
Eat small amounts of this probiotic-rich condiment with cooked foods to improve digestion and assimilation.
Remember that fermenting does not reduce the goitrogens (thyroid suppressing substances) in the cabbage. So, if you have thyroid issues, you may wish to consider avoiding this particular condiment.
If your thyroid status is good and you eat plenty of iodine-rich foods like grassfed butter, then sauerkraut is a healthy addition to the diet.
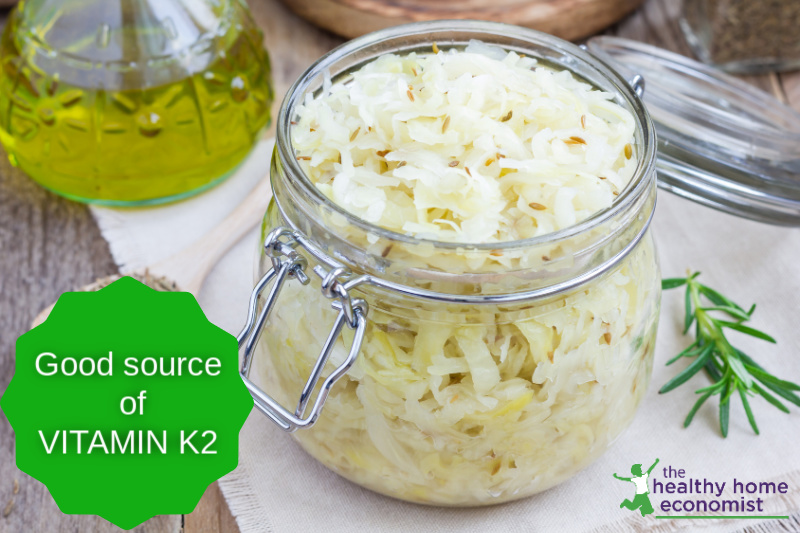
Loaded with Vitamin K2
Did you know that properly cultured cabbage contains a significant amount of natural Vitamin K2? This is an elusive nutrient that is very hard to get in the diet. It is essential for strong bones and healthy teeth.
The USDA reports that one cup of sauerkraut contains 81 mcg. No doubt this is the commercial, pasteurized stuff that the USDA is testing too.
I would venture to suggest that making raw sauerkraut yourself and fermenting properly would potentially contain larger amounts.
Natural Remedy for Reflux
Another bonus of eating raw fermented cabbage is that it is a natural way to prevent acid reflux. Simply eat a mouthful or two a few minutes before the start of a meal.
Want to experience these benefits for yourself? Two detailed video lessons are included with the recipe below.
Tip: Be sure to wear an apron when you make this dish as you will see in the video! ?
Why don’t you try it today! You will never go back to the pasteurized, shelf stable sauerkraut at the store!

Homemade Sauerkraut Recipe
Basic recipe for homemade sauerkraut as traditionally made as a live cultured food loaded with probiotics and enzymes to aid digestion and absorption of nutrients.
Ingredients
- 1 green or purple cabbage medium size, preferably organic
- 4 Tbl liquid whey
- 1 Tbl caraway seeds
- 1 Tbl sea salt
Instructions
-
Core and chop cabbage. Place all the chopped cabbage and other ingredients together in a large sturdy bowl.
-
Pound the juices out of the cabbage thoroughly with a kitchen pounder of some kind for a full 10 minutes.
-
Tightly pack the cabbage into a one quart mason jar leaving at least 1 inch of space at the top. Tightly seal with the lid.
-
Leave on the counter for 3 days and then refrigerate.
-
The flavor of the homemade sauerkraut improves over time. It will last many months in your refrigerator or cool cellar.
Recipe Video

References
(1) Vitamin K2 in Sauerkraut
(2) Nourishing Traditions
More Fermented Food Recipes
Love this sauerkraut recipe? Try these other delicious fermented foods and drinks below and unleash the power of a traditional diet in your home.
How to Make Fermented Lemonade
How to Make Orangina
Mango Chutney Recipe
Homemade Apricot Butter
Fermented Potatoes
Probiotic Corn Relish
How to Make Fermented Cilantro Salsa
Beet Kvass Recipe


Hi Dale, the saurkraut should still be fine even if the lid blew off. Just put the lid back on and refrigerate now that you've fermented for 3 days.
My lid blew off while removing it and so Thankful it didn’t hit me in the face. But glad to know it is still good to eat.
Hi Sarah,
I tried this out the other day. I thought I left enough space at the top of the jar, but apparently not. After three days the pressure expanded the lid and broke the seal. Ok, now what? Is it ok? What should I do?
Liquid doesn't need to cover the cabbage like with the mango chutney recipe. Just press it down in the mason jar nice and tight like I show in the video. You don't need a gadget to weigh the food down in the jar. I've never had a problem with a bit of food floating on the top like with the mango chutney.
It seems to me, that everytime I see someone weighing it down and covering with brine is because they are not putting a lid on (like using a crock). This would leave it exposed to more air. Is the reason you don’t need to cover the cabbage with brine is because you are putting a lid on the jar? Thus, limiting the amount of air getting to the cabbage?
You didn't mention needing to make sure the cabbage is covered with liquid and I noticed that when you finished placing the cabbage into the jar that there was no liquid in the bowl to pour in. So is it necessary to cover the cabbage with liquid and if so, how do you keep your ferments from floating to the top and above the liquid level? Some say it matters and some say not so much and I'm a little confused about that. I have seen gadgets for sale designed for the purpose of weighing the food down in the jar. But you didn't address this issue so maybe it isn't something to concern us.?
Not sure why it would be so salty. Just cut down next time you make it and make sure to pack it down tight. Mine was fine and not too salty at all, but then everyone's taste for salt is different.
I love seeing the procedure. I found that I cut mine too fine and I didn't pack near as tight in the jar. Would that be the reason that mine was terribly salty? I love salt but it was way too much for even me. I am guessing maybe it was the packing? That it needs to be tight for the bacteria to work properly? Would love to have this answer.
Thanks
If it's a bit warmer in your home, then you might want to leave it for only 2 or 2 1/2 days on the counter and then refrigerate. Yes, the kraut is fine if the house gets really warm for a few days. I like to remember Captain Cook and the amazing variation in temperature on his ship yet the sauerkraut was just fine! The temperature affects the flavor more than anything else.
This is great, thanks! Videos are so much easier for me to follow 🙂
a few questions though, what if the temp gets a bit warmer than 74/75…I'm in FL as well and it's quite humid right now, nothing but rain lately, and my house is hard to keep cool some days, sometimes with the air running all day it still can get to 78/80, would that affect the fermentation? Also since hurricane season is upon us, is it ok if you lose power and the kraut warms up, can you still use it? or is it dead once it warms up after refrigeration?
Thanks!
Hi Suzanne, thank you for the kind words! I'm so glad you are finding the videos helpful! Yes, the longer the sauerkraut ferments, the more enzymes etc are produced. It keeps fermenting even after refrigeration; the cold just slows it way down.
Sarah, I love your videos. Learning by watching has always been best for me. Seeing you make these dishes really makes me understand what to do!
Question: After the initial fermentation at 72 degrees, does the longer fermentation at 40 degrees also produce more enzymes for digestion, in addition to enhancing the flavor?
Regarding another person's question about stevia, I have found I can use stevia in just about anything. My latest favorite is whole-fat yogurt with fruit puree and stevia to taste. So, I'm sure ice cream would work also.
For yogurt, I like about 1/4 tsp. stevia to 2 Cups of yogurt, plus about 2 Tbsp. of unsweetened fruit puree or 1/4 Cup of fresh berries. For ice cream made with sweet cream, perhaps less stevia would be desired, but maybe not.
The males in my family do not like the stevia taste, but they eat it happily if I use half honey or maple syrup and half stevia, instead of all stevia.
Speaking of stevia, I would like to see a video about how to make homemade stevia extract and stevia powder. I've heard it is better to use the still-green stevia, which is less processed, rather than the white stevia powder or clear stevia extract.